There are mainly two ways to get a Freedombox running. The first one would be to install Debian first and then the Freedombox package or the alternative to download the Freedombox image designed for your desired system.
1- Install Debian
Ideally you won’t need a desktop environment to run your debian with freedombox installed as all management tasks are done via its web interface.
Give sudo privileges to your user account. Change to root user:
su -

usermod -aG sudo user
Reboot your system for the changes to apply.
Configure power management
Disable auto sleep-hibernate otherwise otherwise your server might go to sleep in 20 mins regardless of what you have chosen in your power management settings. The reason is because when your server reboots next time and you log in only remotely, the power settings will default to system-wide options. We don’t want that to happen when managing a remote server specially if you want to have also a desktop environment. Let’s play safe and disable the relevant power management options:
sudo systemctl mask sleep.target suspend.target suspend-then-hibernate.target hibernate.target hybrid-sleep.targetUpdate your package list and system upgrades
sudo apt-get update && sudo apt upgradeInstall freedombox package.
sudo DEBIAN_FRONTEND=noninteractive apt-get install freedomboxor if you want to configure slapd and get your secret (a random string you have to use post installation in the freedombox web install)
sudo apt install freedomboxOpen a web browser and go to the local ip address of your server. Finish the installation. Enter the secret password provided during the installation, log in and start installing apps. Recommended to start with wordpress to get your domain working with your new self hosted home page.
Ensure the secondary ssd (if you have one installed) is configured to be auto mounted with the same drive id if your server reboots. Log in to plinth and go to cockpit –> drives. This is where the backups are going to be stored. Change the options to enable auto mounting and changing the name of the permanent mount to something easier like /media/root/backup.
Log in to plinth
Setup automatic Backups before anything else.
Obtain an ssl certificates for your domain (if you bought one) or get a free domain at ddns.freedombox.org
Log in to your DNS service provider and map your domain name to the public ip of your edge router. Use ‘curl ifconfig.me’ for Linux and Windows or ‘Invoke-RestMethod ifconfig.me’ for windows to know your public ip. Freedombox also provides a free domain of your choice like yourdomain.fbx.one or domain.freedombox.rocks.
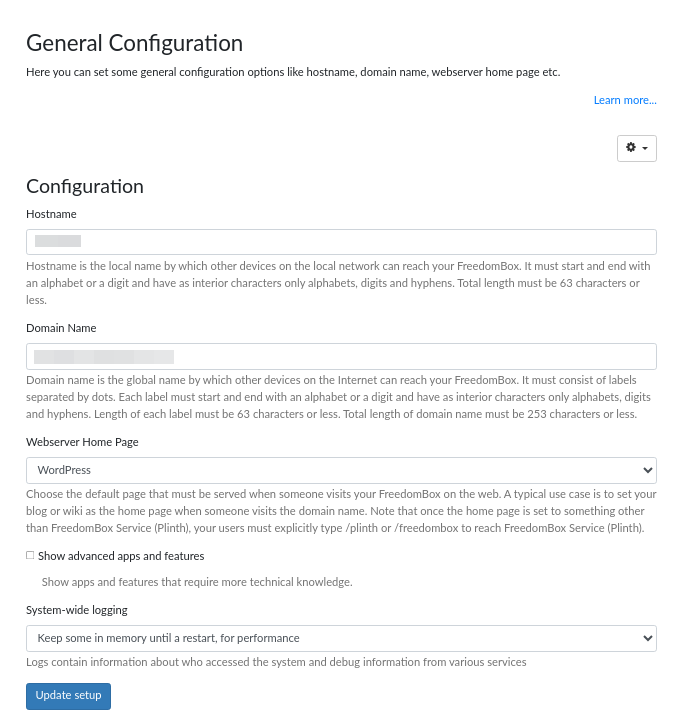
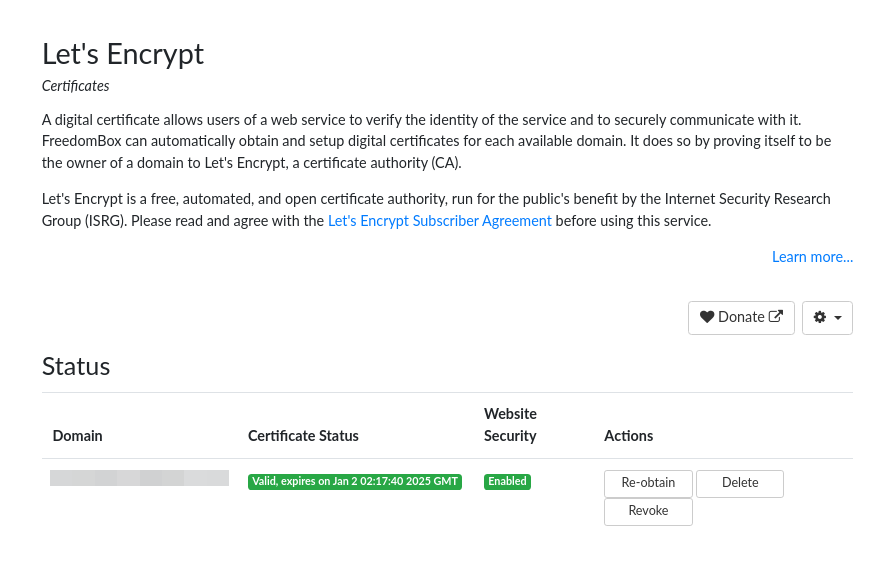
Go to system –> Configure. Remove you first domain and type the other one you have. Update the configuration. You should loose connection to the freedombox site momentarily . Log back in with your private ip address and go to Configure –> Let’s Encrypt and click to obtain the certificate for your second domain. If you have your dns records setup correctly, both domain names should reach your freedombox.
Go to system –> Let’s Encrypt and click “obtain” to get your certificate. Now you should go to your_domain instead of the ip address. If you have more subdomains now its the time to get those certificates as well.
If you want to get your free domain:
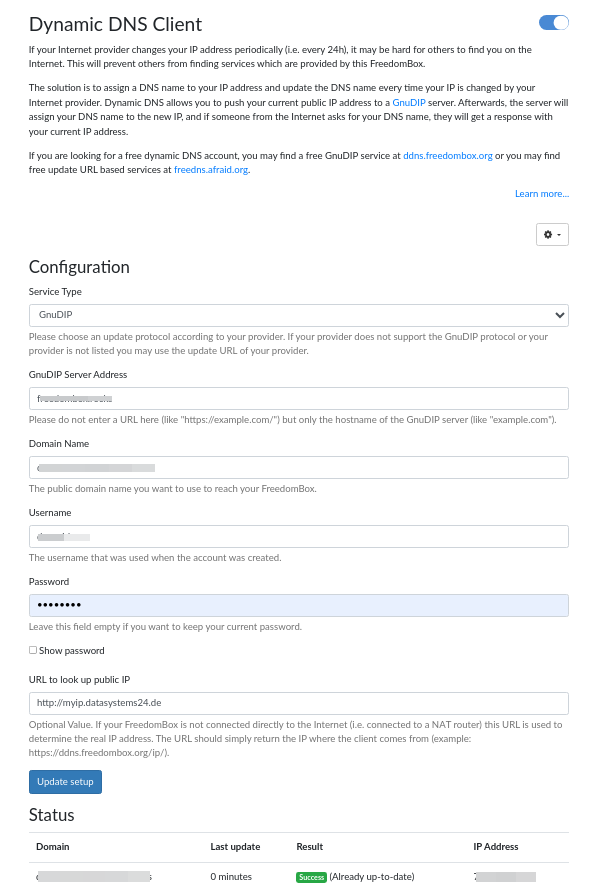
Go to system –> Dynamic DNS Client and complete the information required but first visit ddns.freedombox.org and create an account. The information to access that account will be necessary to configure your ddns settings.
Install Packages
Other necessary packages might be needed depending on the services your server will provide.
- mariadb-server – Necessary to install other packages like wordpress. The installation will also configure phpmyadmin to manage the databases in the web browser.
- php8.2 – Check for more updated available versions.
sudo apt install mariadb-server php8.2 php8.2-imagick php-imagick php8.2-intlInstall Freedombox from a predefined image
Go to https://freedombox.org/download/ and select the qemu image to install it in a Proxmox virtual machine. In this example we’ll choose the quemu/kvmamd64. Copy the download link address to use it later.
Import qcow2 disk to VM
Overview: Create a vm with parameters you want. The disk will be detached and deleted later so you have attach the qcow2 disk to it. Download the qcow2 image to your proxmox then move the virtual disk to the location where the virtual disks are stored for your VMs. You have to assign the id number of the vm of interest to the disk when doing the import. Proxmox won’t be able to download the image using its own agent to pull the image to the default destination folder because its compressed. Instead, open a shell in proxmox and go to the following location and download it using wget and decompress using [xz -d image_file.xz].
Default folder of downloaded iso images: /var/lib/vz/template/iso/
Now you are able to import the image to your VM (make sure your vm does not have a any disks to avoid any confusion)
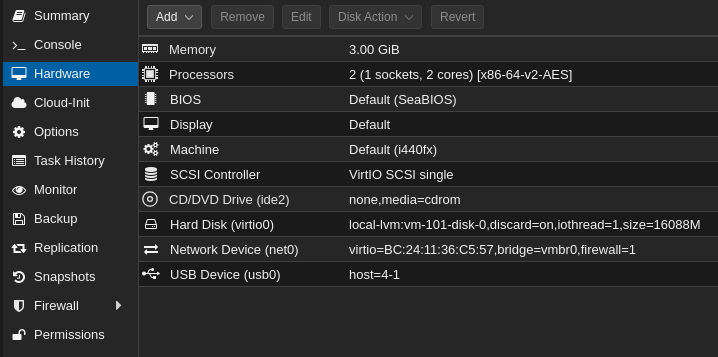
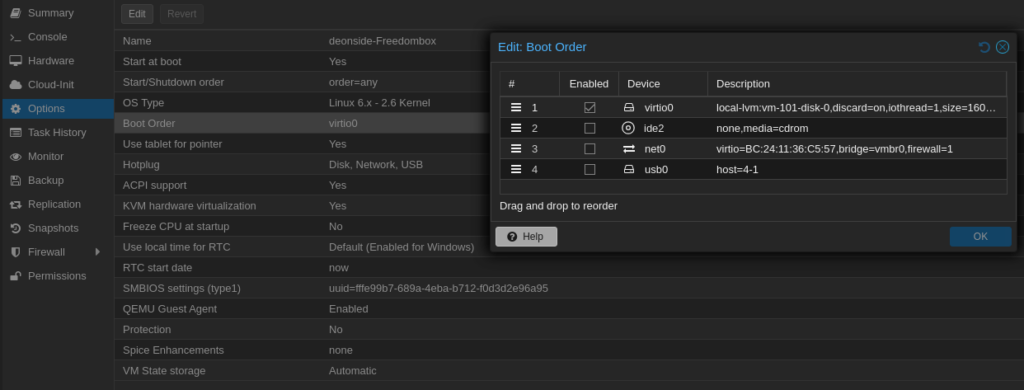
qm importdisk [vm id number] freedombox-bookworm_all-amd64.qcow2 local-lvmBack in Proxmox web UI, select the VM you just created and attach the disk to the VM in the hardware section and continue in options and make it bootable. After that you can turn on the VM to access its web interface to complete the setup process. Once finished its ready to use and install apps.
Done.